How to use
Table of contents
pyAMNESIA as a standalone tool
Use the CLI
If you want a lightweight tool, you may want to use pyAMNESIA as a standalone tool, using the CLI.
(optional) Change the
results_pathentry of thepyamnesia/src/pyamnesia/config.yamlfile into the absolute path to the directory in which you want the results files to be. By default, results will be stored in thepyamnesia/blob/resfolder.Adapt the parameters in
pyamnesia/src/pyamnesia/config.yamlif you want to. Fore more info on this, please read the Parameter selection section of the OVERVIEW page that corresponds to the analysis you are running. You can also use the configuration templates that are in thepyamnesia/src/pyamnesia/config_templates/directory, and read the Configuration templates page.Launch the CLI by executing these commands in your terminal:
cd path/to/pyamnesia  # go to project
cd src
python pyamnesia.py   # execute CLI
The CLI is waiting for your input. Please write
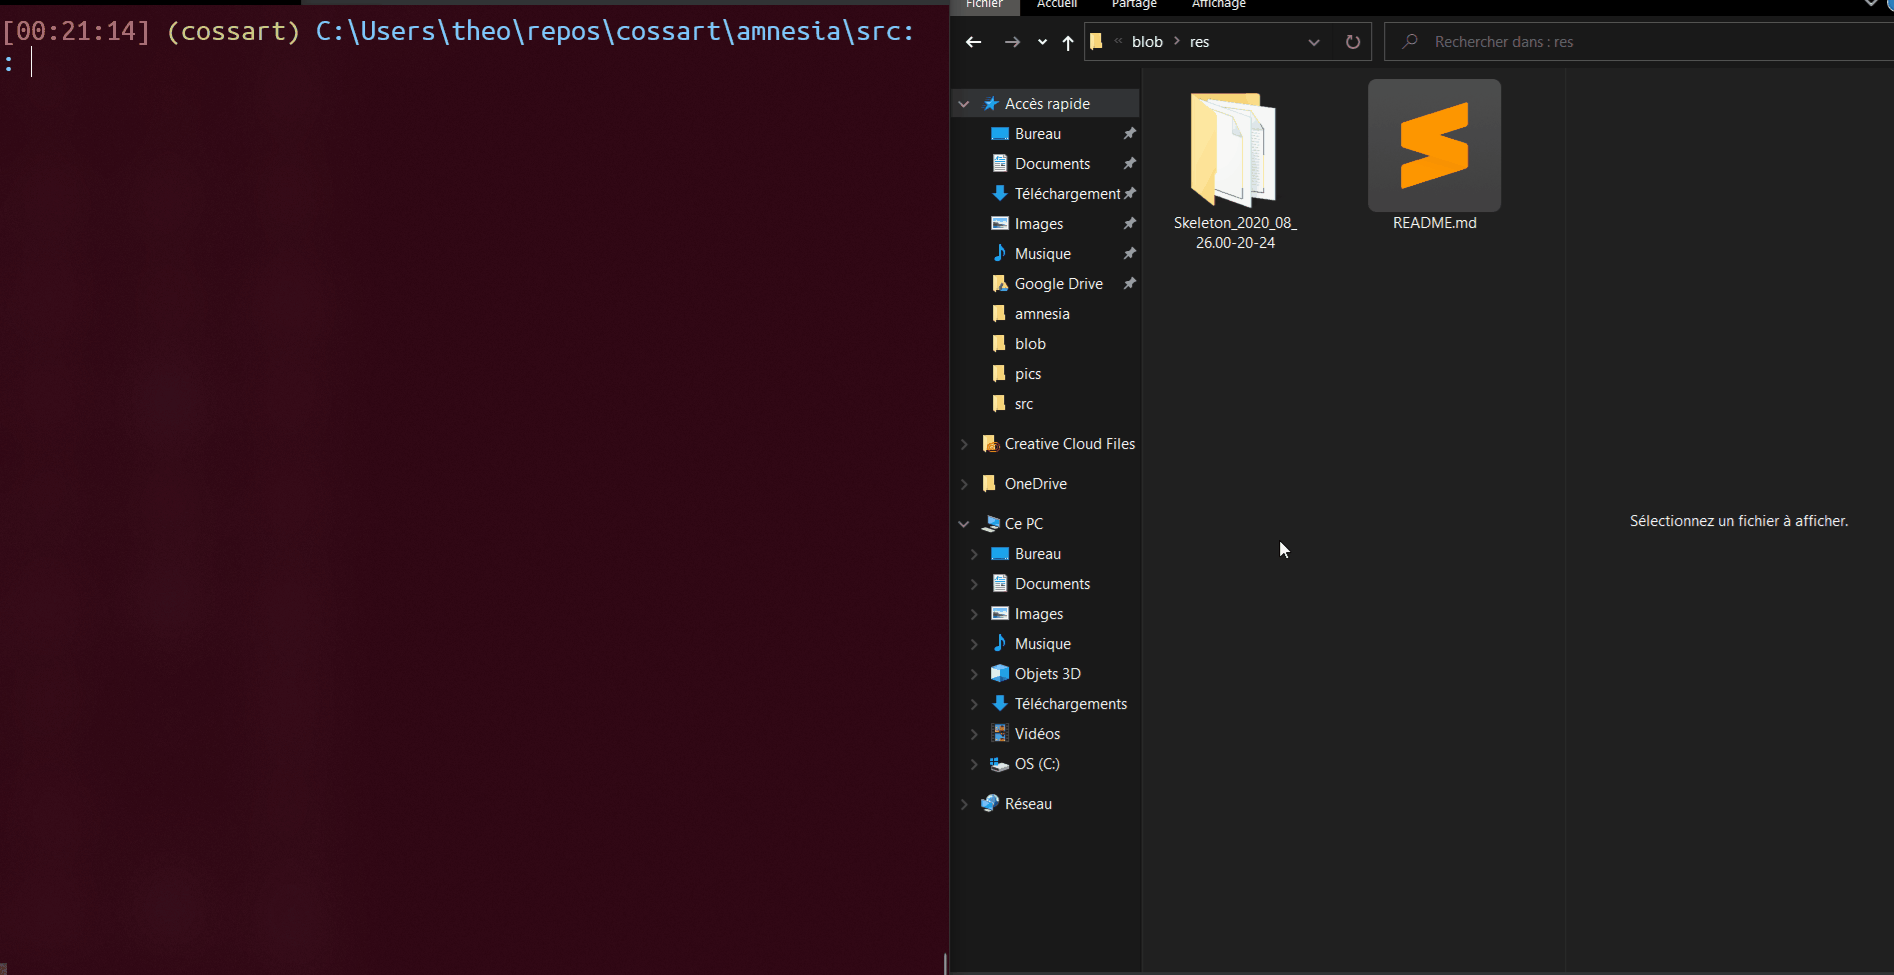
skeleton,clusteringorfactorizationdepending on the analysis you want to run.When the “Choose input TIF file(s)” dialog window opens (you may need to search it in your open windows if it does not appear on top of your desktop), select the folder where your data is.
data/               # folder to select
    example1.tif
    example2.tif
    example3.tif
If you launched a
clusteringor afactorizationanalysis, a “Choose skeleton results directory” dialog window opens (see here for more info on the skeleton analysis, and here for more info on why a prior skeleton analysis is needed). Select the results folder of the corresponding skeleton analysis.res/ Skeleton_2020_01_01.00-00-01/ # folder to select example1/ branch_validation/ sequence_projection/ skeleton_mask/ example2/ branch_validation/ sequence_projection/ skeleton_mask/ Skeleton_2020_02_02.00-00-02/
If the skeleton results of a
.tiffile cannot be found in the specified folder, the analysis of this file will be skipped. For instance, in the code snippets above, theexample3.tifanalysis will be skipped.
Here is a demo of the CLI tool.
Demo of the CLI tool.
Use pyAMNESIA’s modules
If you want to automate the analysis (schedule the analysis, run them on all the files in a specific directory, add a Python preprocessing step…), you can use pyAMNESIA’s modules.
This abstract class is inherited for each of the three modules Skeleton, Clustering and Factorization:
In order to use the inherited classes, you have to import them from their respective modules and instanciate them, using
from cli.pyamnesia_analysis_name import PyamnesiaAnalysisName
analysis = PyamnesiaAnalysisName()
where name is 'skeleton', 'clustering' or 'factorization'. For instance, if you want to apply the skeleton analysis to every file in the current working directory:
import os
from cli.pyamnesia_analysis_skeleton import PyamnesiaAnalysisSkeleton
analysis = PyamnesiaAnalysisSkeleton()

for file in os.listdir():  # for all files in cwd
    file_path = os.path.abspath(file)
    analysis.run_analysis(file_path)
pyAMNESIA as a CICADA module
If you want to use CICADA to run the tool and have a pretty GUI to guide you, then you may want to use pyAMNESIA as a CICADA module.
Setup
You have to add the pyAMNESIA analysis to CICADA. To do so:
Launch CICADA:
cd path/to/cicada  # go to CICADA
cd src
python -m cicada   # execute CICADA
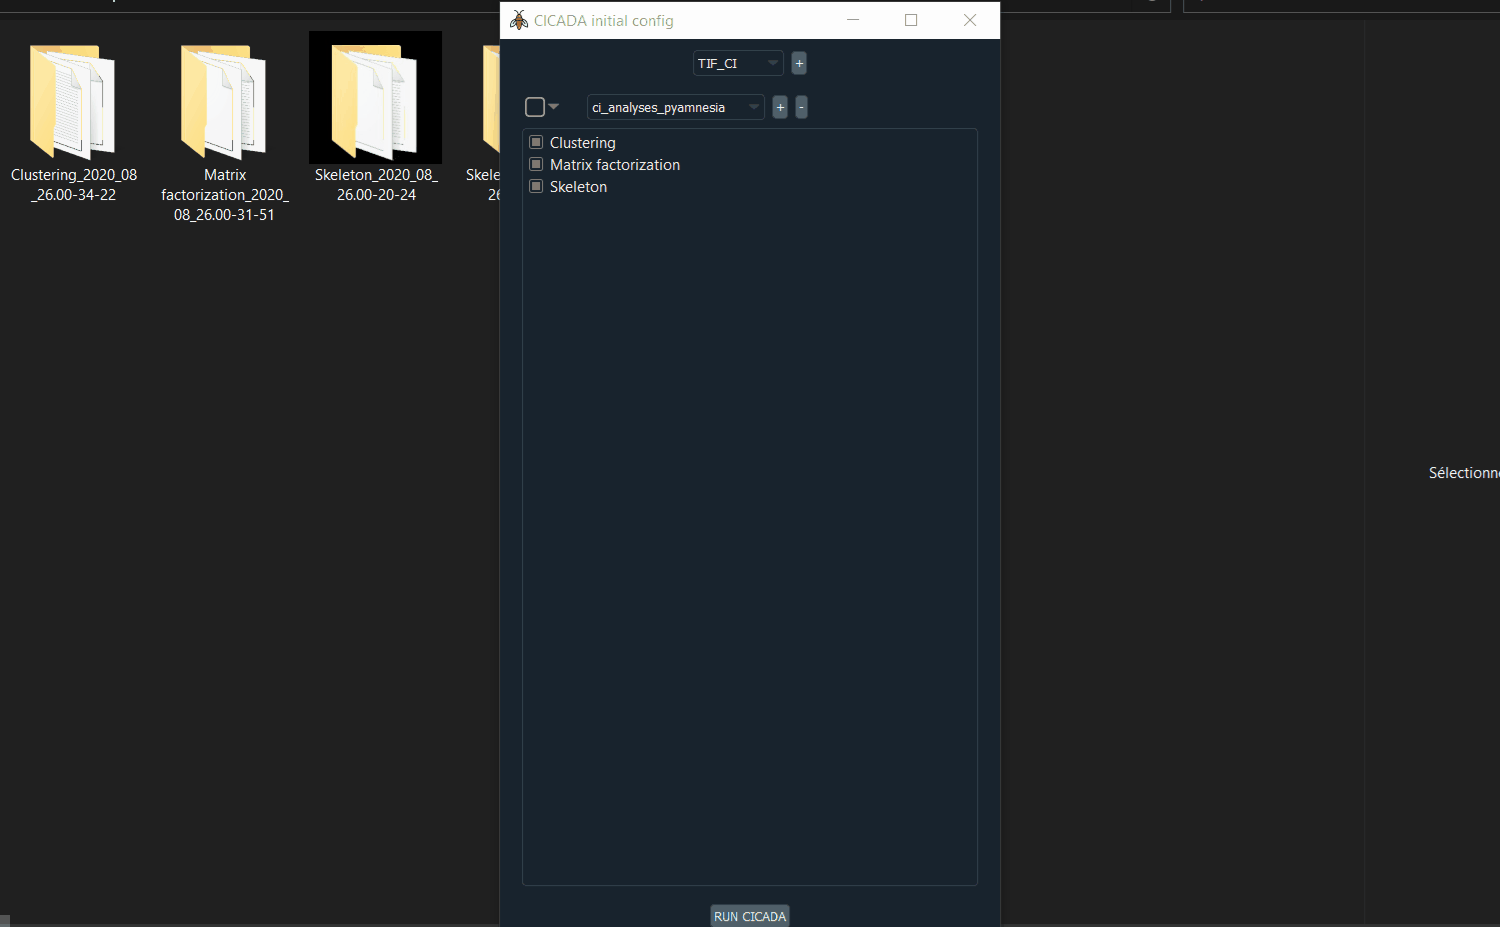
Add the
tif_wrapper(located inpyamnesia/src/pyamnesia/gui/) to CICADA by clicking on the first+.Add the
ci_analyses_pyamnesiafolder (located inpyamnesia/src/pyamnesia/gui/) to CICADA by clicking on the second+.Select the 3 analysis and click
RUN CICADA.
Demo: CICADA setup for using pyAMNESIA.
Use
Launch CICADA:
cd path/to/cicada  # go to CICADA
cd src
python -m cicada   # execute CICADA
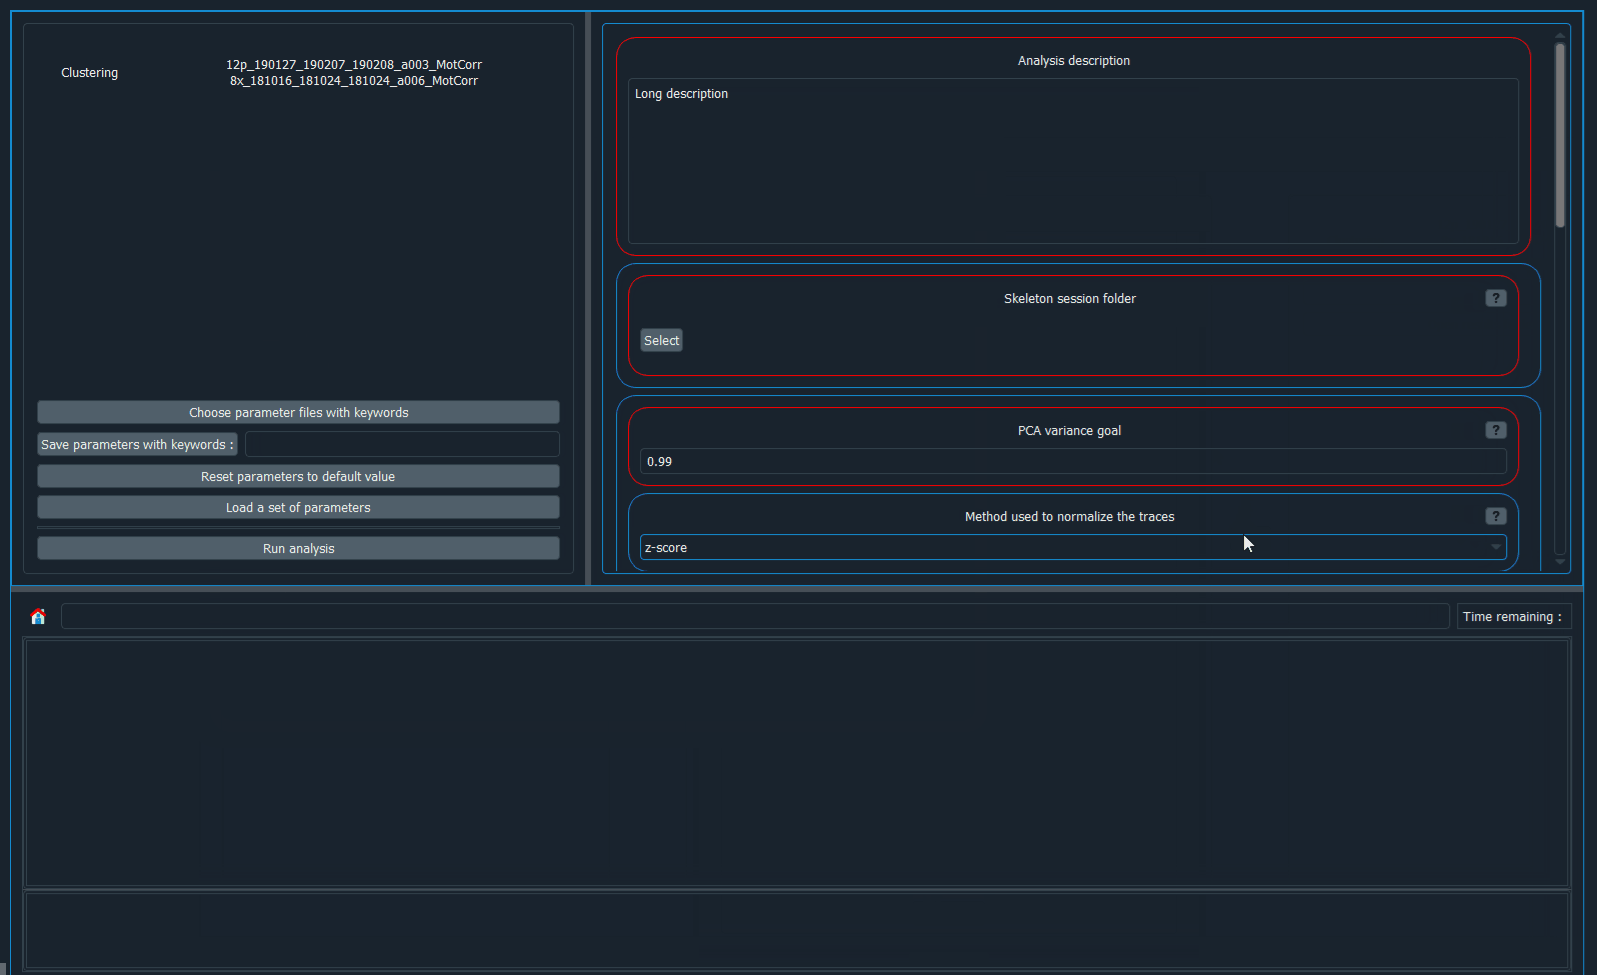
Select the 3 analysis and click
RUN CICADA.Go to
File > Open new datasetor usectrl + Oand select the folder where your data is.data/ # folder to select example1.tif example2.tif example3.tif
Select the
.tiffiles to analyse, then click on the first arrow.Select the analysis to run, then click on the second arrow.
Demo: how to select the .tif files.
If you chose a
Clusteringor aFactorizationanalysis, select the results folder of the skeleton analysis you run before (see here for more info on the skeleton analysis, and here for more info on why a prior skeleton analysis is needed).res/ Skeleton_2020_01_01.00-00-01/ # folder to select example1/ branch_validation/ sequence_projection/ skeleton_mask/ example2/ branch_validation/ sequence_projection/ skeleton_mask/ Skeleton_2020_02_02.00-00-02/
If the skeleton results of a
.tiffile cannot be found in the specified folder, the analysis of this file will be skipped. For instance, in the code snippets above, theexample3.tifanalysis will be skipped.Scroll down and choose the results directory.
Adapt the parameters if you want to. Fore more info on this, please read the Parameter selection section of the OVERVIEW page that corresponds to the analysis you are running.
Click
Run analysis.
Demo: how to launch an analysis.